Started from a walnut now we here
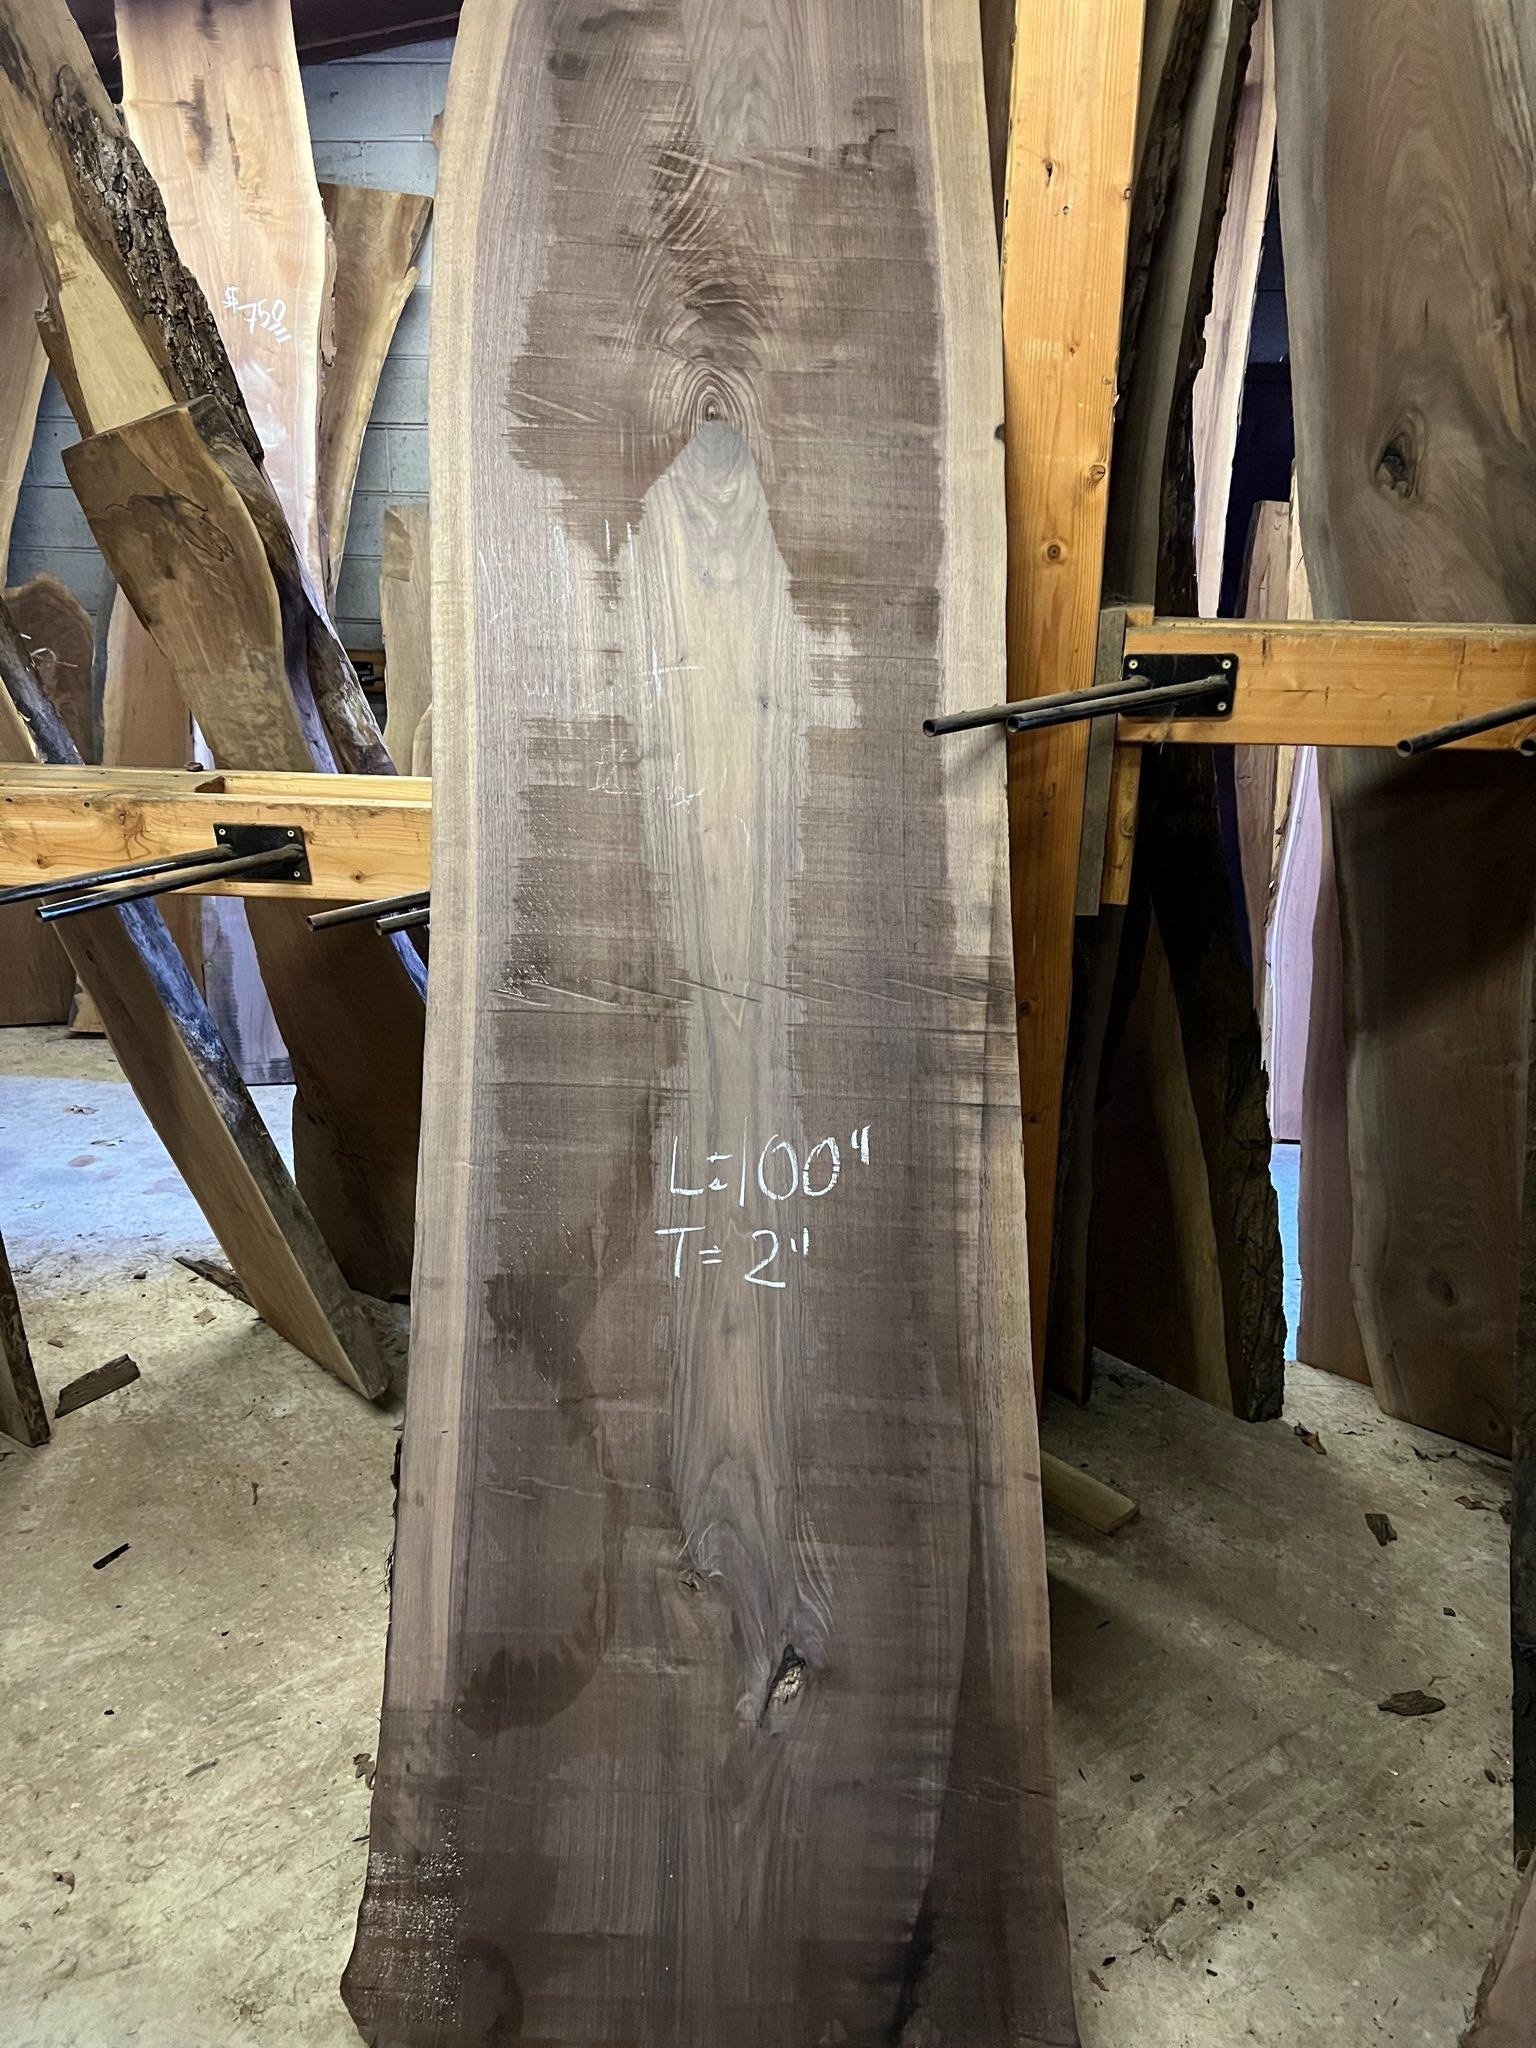
I decided to start with the dining table. Sharing a meal is an important part of our social interactions and it made sense to spend the time to do this first just in case I needed time to fix something. I came across this walnut slab while perusing the aisles at my local hardwood store. The clearness of the wood really struck me as this would mean I wouldn’t have to mess around with epoxy which would significantly reduce the amount of time it would take to make the table. My goal was to try to knock it out in one weekend. With the size of the slab I was working with I knew I had many, many hours of sanding to look forward to.
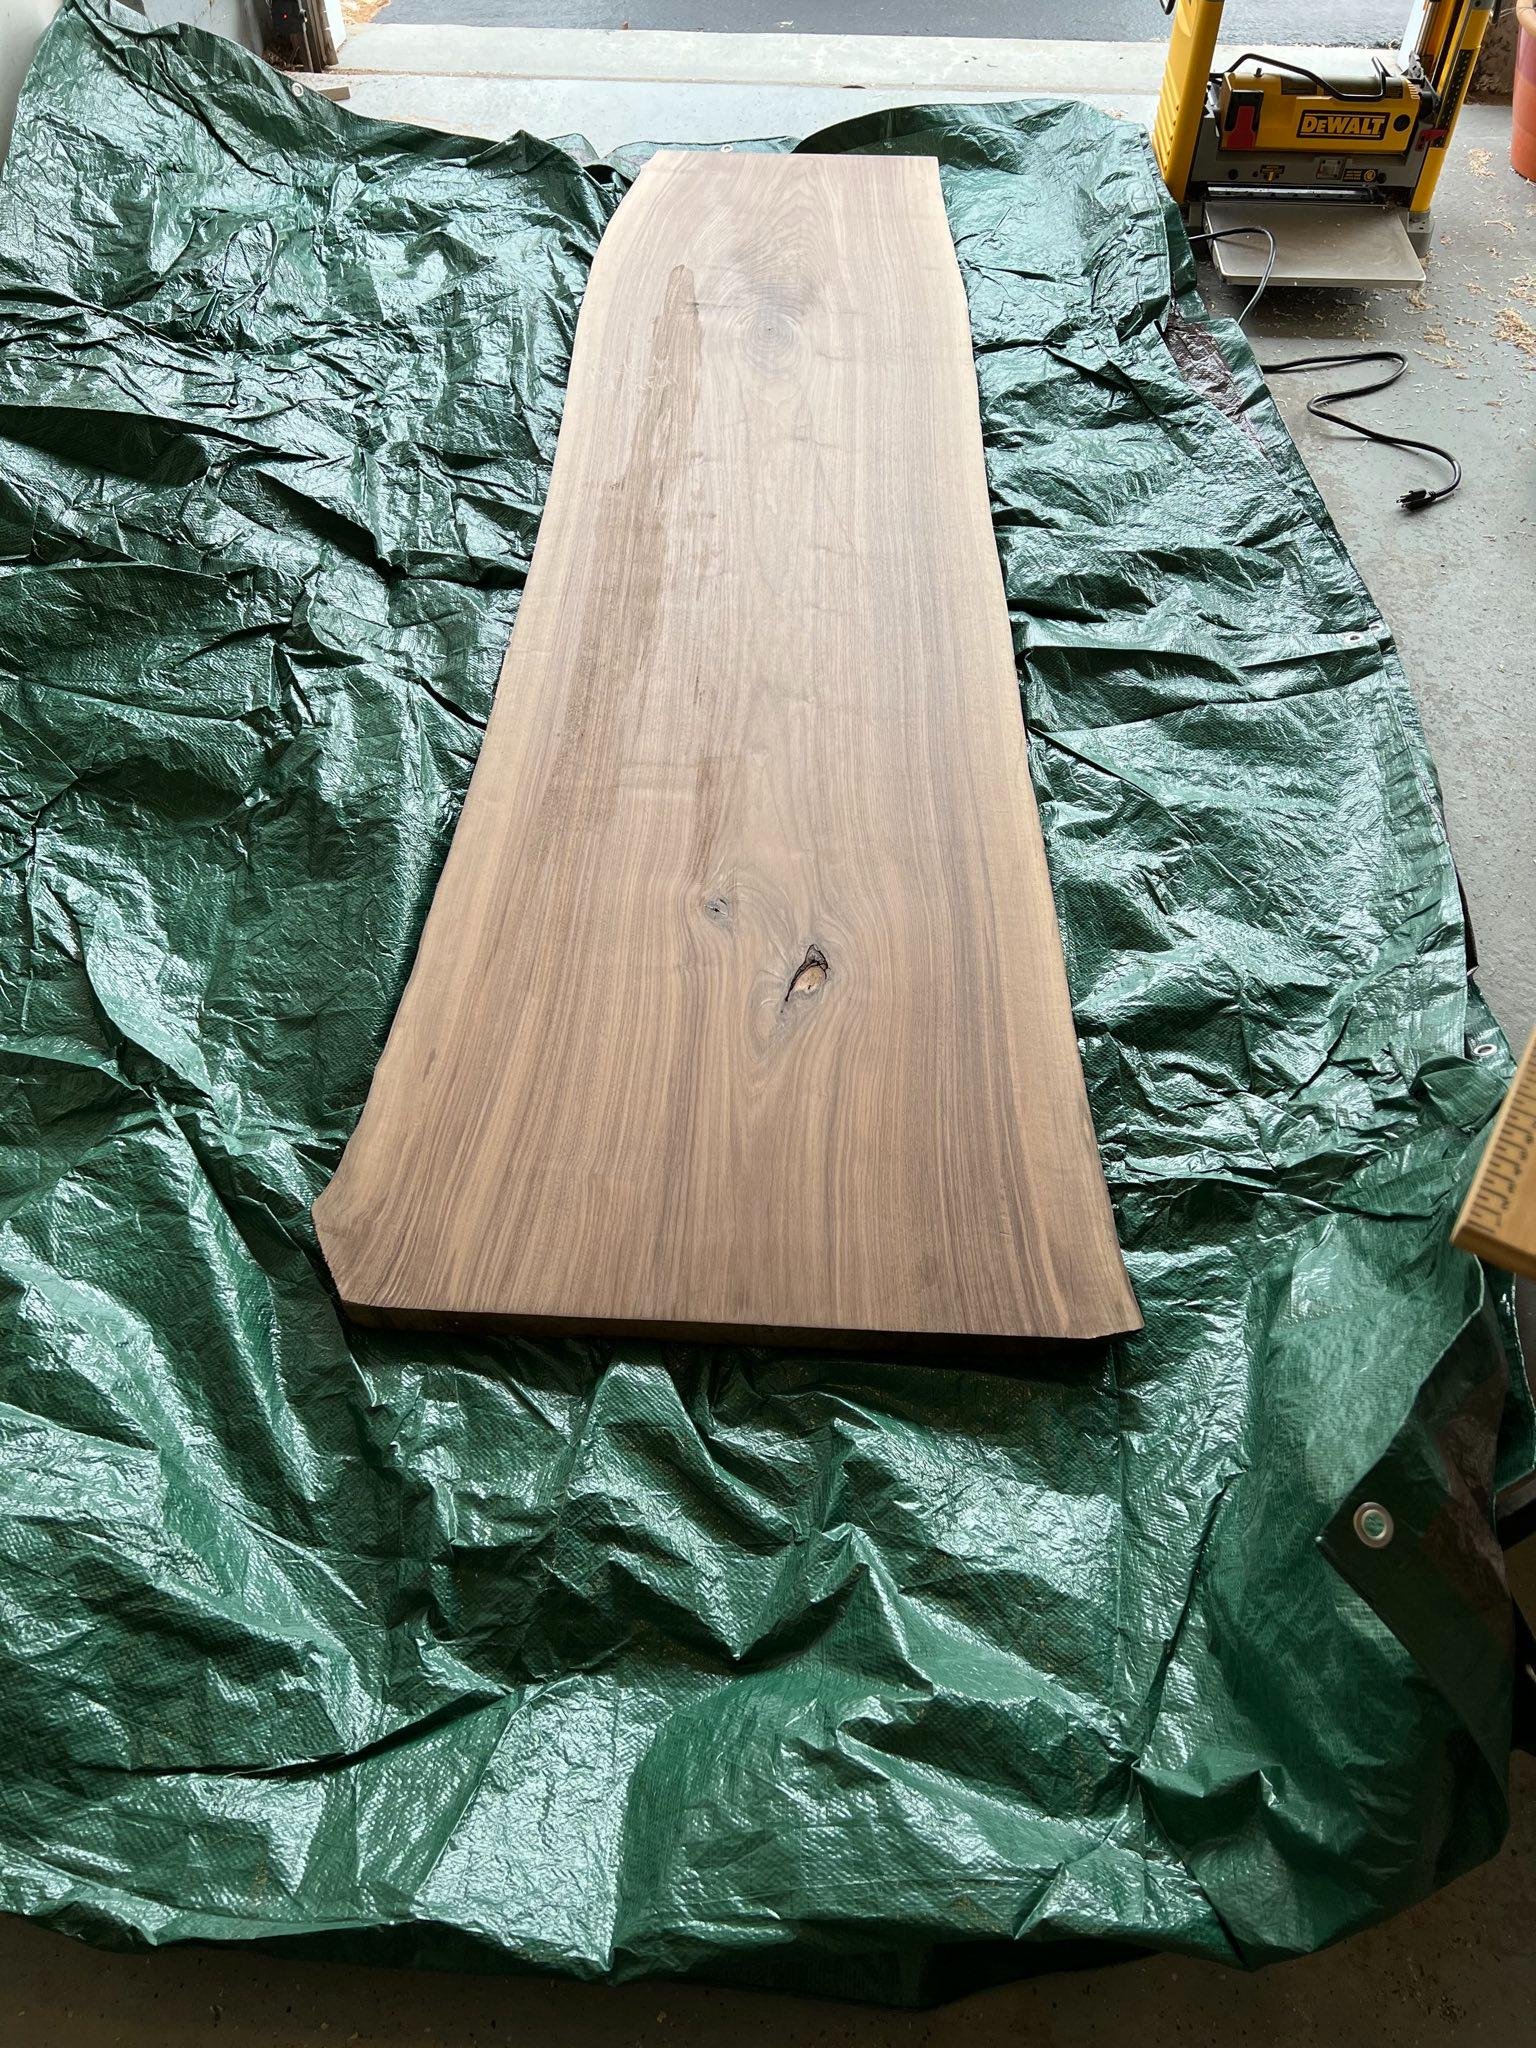
The slab after being planed on 2 sides, i decided to not square up the sides for 2 reasons:
It would inevitably make the table narrower and we’re already working with a pretty narrow slab.
I thought the edge actually looked quite nice and it made sense to leave it as is after cleaning of the bark and crud. Doing an epoxy pour would also take up a lot of time forcing me to make this a multi-weekend project so yes I was a bit too lazy to want to do that.
In order to deal with the few knots and cracks that were present I decided to use CA glue to fill and coat the crevices so that I wouldn’t run into food getting into those and eventually ruining the wood over the lifespan of the table. This was a relatively simple solution and it gave all the surfaces inside the crevices a really nice sheen once it dried.
Sanding the piece was definitely the most time consuming process. It took the better part of Saturday and most of Sunday morning and afternoon. I needed to knock off the bark along the edges using a chisel and then sand through with the sandpaper grits. All in all to get the table ready for finish 12 hours of sanding were required. I’m still not sure how I feel about the new sanding pads I used. The mesh sandpaper discs worked very well on the top and bottom surfaces but the uneven edges really ate through the discs which at times would come off of their Velcro backing and go spinning around my garage like a Frisbee. When the did manage to stay on they greatly reduced the amount of sanding dust that was produced on the surface.
I used some scrap plywood I had lying around in order to create a guide for my router so I could recess the mounting area for my table legs. I thought this just looked better and it provided a bit more stability to the table since the legs would be seated more securely by having a lip around the attachment point. I followed the routing by drilling out holes for threaded inserts. I chose to use inserts instead of screwing directly into the wood since they’d let me take the legs off for transport as well as allowing the wood to move naturally and not introduce stresses into the tabletop.
Finally, with all of that done I was ready to apply the finish and do a full assembly of the table. I vacuumed the surface thoroughly to get rid of fine dust and then wiped every surface with a rag soaked in mineral spirits. I then used a plastic spreader and an 800 grit pad to apply my finish (Rubio monocoat) to the surface of the wood. I wiped off any excess a few minutes after applying as the finish gets gummy if you let the excess oil dry for too long. I applied 2 coats of finish; Rubio brands itself as a single coat application but after one application the finish felt a bit too satin so I opted to go for a 2nd coat as it brought a bit more shine to the tabletop. All in all I was pretty satisfied with my work, I had a moment during the build where the router got a bit away from me and scored a little deeper into the surface than I would have liked. Thankfully this happy little accident is hidden underneath the table legs and no one is the wiser. Except those of you reading this. Here’s the finished table. I’ll post an update once I have it moved to the apartment. For now it sits in my garage waiting to host its first meal.


